K8s备份与迁移

etcd备份

本例使用kubeadm安装k8s集群,采用镜像pod方式部署的etcd,所以操作etcd需要使用etcd镜像提供的etcdctl工具。如果非镜像方式部署etcd则可直接使用etcdctl命令备份。

  • 查看etcd配置参数文件
1
2
3
4
5
6
7
8
9
10
11
12
13
14
15
16
17
18
19
20
21
22
23
24
# 默认etcd使用的是host-network网络,然后把系统参数和数据都映射到了宿主机目录。
# 配置参数在/var/lib/etcd,证书文件位于/etc/kubernetes/pki/etcd

# etcd服务所产生的快照文件
[root@master]# ll /var/lib/etcd/member/snap/
total 4668
-rw-r--r-- 1 root root 8588 Aug 19 11:07 0000000000000006-000000000007c863.snap
-rw-r--r-- 1 root root 8588 Aug 19 11:59 0000000000000006-000000000007ef74.snap
-rw-r--r-- 1 root root 8588 Aug 19 12:51 0000000000000006-0000000000081685.snap
-rw-r--r-- 1 root root 8588 Aug 19 13:43 0000000000000006-0000000000083d96.snap
-rw-r--r-- 1 root root 8588 Aug 19 14:35 0000000000000006-00000000000864a7.snap
-rw------- 1 root root 4714496 Aug 19 14:45 db

# 查看etcd的证书文件
[root@master]# ll /etc/kubernetes/pki/etcd/
total 32
-rw-r--r-- 1 root root 1017 Aug 14 10:01 ca.crt
-rw------- 1 root root 1679 Aug 14 10:01 ca.key
-rw-r--r-- 1 root root 1094 Aug 14 10:01 healthcheck-client.crt
-rw------- 1 root root 1675 Aug 14 10:01 healthcheck-client.key
-rw-r--r-- 1 root root 1127 Aug 14 10:01 peer.crt
-rw------- 1 root root 1675 Aug 14 10:01 peer.key
-rw-r--r-- 1 root root 1127 Aug 14 10:01 server.crt
-rw------- 1 root root 1675 Aug 14 10:01 server.key
  • 访问etcd服务
1
2
3
kubectl describe -n kube-system pod etcd-master
# 进入etcd的pod
kubectl exec -it -n kube-system etcd-master -- /bin/sh
  • 备份
1
2
3
ETCDCTL_API=3 etcdctl --endpoints https://127.0.0.1:2379 snapshot save "/home/supermap/k8s-backup/data/etcd-snapshot/$(date +%Y%m%d_%H%M%S)_snapshot.db"
# 如果需要添加证书则在后面跟上
--cert="/etc/kubernetes/pki/etcd/server.crt" --key="/etc/kubernetes/pki/etcd/server.key" --cacert="/etc/kubernetes/pki/etcd/ca.crt"

velero备份迁移k8s

安装velero
1
2
3
4
5
6
7
8
9
10
11
12
13
# 下载最新版
https://github.com/vmware-tanzu/velero/releases?spm=a2c6h.12873639.0.0.717d1f2bjLi5Bx

wget https://github.com/vmware-tanzu/velero/releases/download/v1.4.2/velero-v1.4.2-linux-amd64.tar.gz
tar -zxvf velero-v1.4.2-linux-amd64.tar.gz
cp -a velero-v1.4.2-linux-amd64/velero /usr/local/bin/velero

# 查看版本
[root@master minio-yaml]# velero version
Client:
Version: v1.4.2
Git commit: 56a08a4d695d893f0863f697c2f926e27d70c0c5
<error getting server version: the server could not find the requested resource (post serverstatusrequests.velero.io)>
安装minio
1
2
3
4
5
6
7
8
9
10
11
12
13
14
15
16
17
18
19
20
21
22
23
24
25
26
27
28
29
30
31
32
33
34
35
36
37
38
39
40
41
42
43
44
45
46
47
48
49
50
51
52
53
54
55
56
57
58
59
60
61
62
63
64
65
66
67
68
69
70
71
72
73
74
75
76
77
78
79
80
81
82
83
84
85
86
87
88
89
90
91
92
93
94
95
96
97
98
99
100
101
102
103
104
105
# 上面下载的velero里含有minio部署
cd velero-v1.4.2-linux-amd64/examples/minio/
# 默认是ClusterIP,我将其直接改为NodePort
[root@master minio]# cat 00-minio-deployment.yaml
---
apiVersion: v1
kind: Namespace
metadata:
name: velero

---
apiVersion: apps/v1
kind: Deployment
metadata:
namespace: velero
name: minio
labels:
component: minio
spec:
strategy:
type: Recreate
selector:
matchLabels:
component: minio
template:
metadata:
labels:
component: minio
spec:
volumes:
- name: storage
emptyDir: {}
- name: config
emptyDir: {}
containers:
- name: minio
image: minio/minio:latest
imagePullPolicy: IfNotPresent
args:
- server
- /storage
- --config-dir=/config
env:
- name: MINIO_ACCESS_KEY
value: "minio"
- name: MINIO_SECRET_KEY
value: "minio123"
ports:
- containerPort: 9000
volumeMounts:
- name: storage
mountPath: "/storage"
- name: config
mountPath: "/config"

---
apiVersion: v1
kind: Service
metadata:
namespace: velero
name: minio
labels:
component: minio
spec:
# ClusterIP is recommended for production environments.
# Change to NodePort if needed per documentation,
# but only if you run Minio in a test/trial environment, for example with Minikube.
#type: ClusterIP
type: NodePort
ports:
- port: 9000
targetPort: 9000
nodePort: 31045
protocol: TCP
selector:
component: minio

---
apiVersion: batch/v1
kind: Job
metadata:
namespace: velero
name: minio-setup
labels:
component: minio
spec:
template:
metadata:
name: minio-setup
spec:
restartPolicy: OnFailure
volumes:
- name: config
emptyDir: {}
containers:
- name: mc
image: minio/mc:latest
imagePullPolicy: IfNotPresent
command:
- /bin/sh
- -c
- "mc --config-dir=/config config host add velero http://minio:9000 minio minio123 && mc --config-dir=/config mb -p velero/velero"
volumeMounts:
- name: config
mountPath: "/config"
  • 登录minio
1
2
http://45.192.x.x:30100/minio/velero/
# 账户密码,默认为minio、minio123
  • 创建密钥
1
2
3
4
5
cat > credentials-velero <<EOF
[default]
aws_access_key_id = minio
aws_secret_access_key = minio123
EOF
  • 安装velero
1
2
3
4
5
6
7
velero install \
--provider aws \
--plugins velero/velero-plugin-for-aws:v1.0.0 \
--bucket velero \
--secret-file ./credentials-velero \
--use-volume-snapshots=false \
--backup-location-config region=minio,s3ForcePathStyle="true",s3Url=http://minio.velero.svc:9000
1
2
3
4
5
[root@master velero-v1.4.2-linux-amd64]# kubectl get pod -n velero
NAME READY STATUS RESTARTS AGE
minio-fdd868c5-xv52k 1/1 Running 0 56m
minio-setup-hktjb 0/1 Completed 0 56m
velero-56fbc5d69c-8v2q7 1/1 Running 0 32m
备份演练
  • 创建测试资源
1
2
# velero里已准备好测试demo
kubectl apply -f examples/nginx-app/base.yaml
  • 创建备份
1
2
velero backup create nginx-backup --include-namespaces nginx-example
velero backup create devops-backup --include-namespaces devops
  • 查看备份
1
2
3
4
5
[root@master examples]# velero backup get
NAME STATUS ERRORS WARNINGS CREATED EXPIRES STORAGE LOCATION SELECTOR
devops-backup Completed 0 0 2020-08-20 16:27:18 +0800 CST 29d default <none>
devops-backup1 Completed 0 0 2020-08-20 16:29:57 +0800 CST 29d default <none>
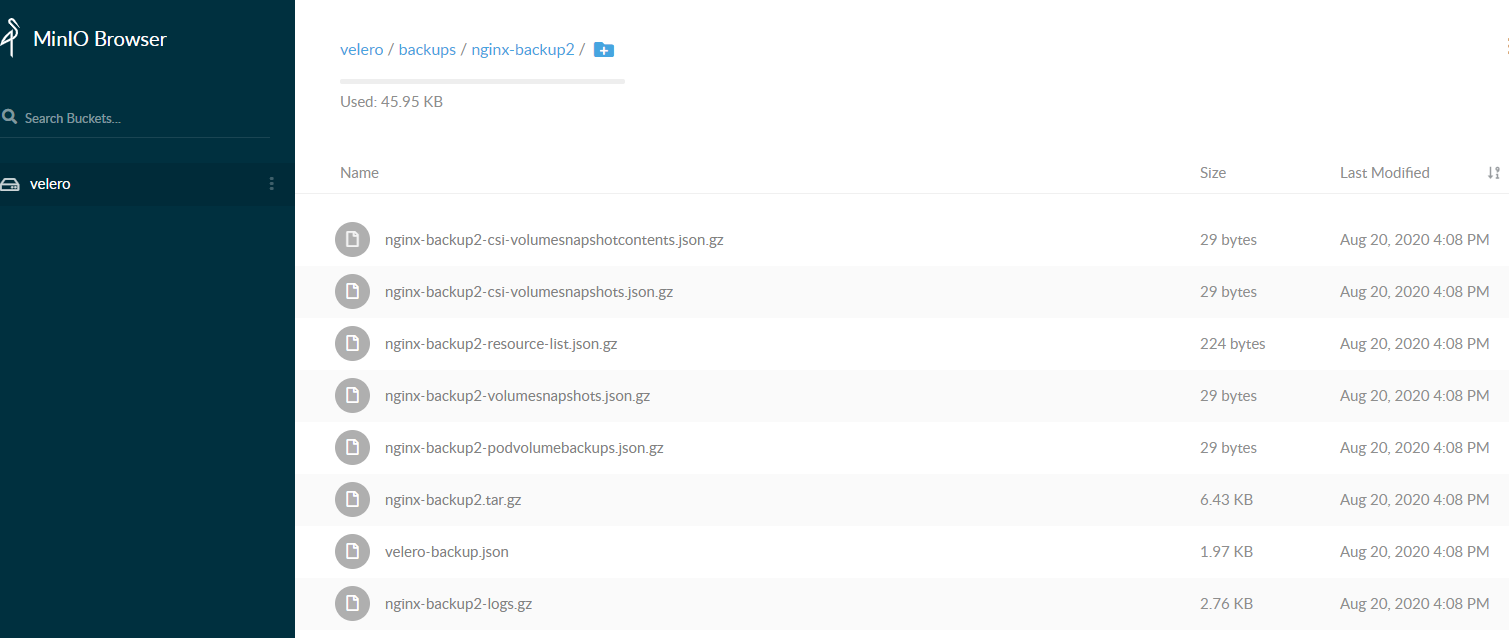
nginx-backup2 Completed 0 0 2020-08-20 16:08:55 +0800 CST 29d default <none>


  • 恢复测试
1
2
3
4
# 直接删除namespace
kubectl delete -n nginx-example
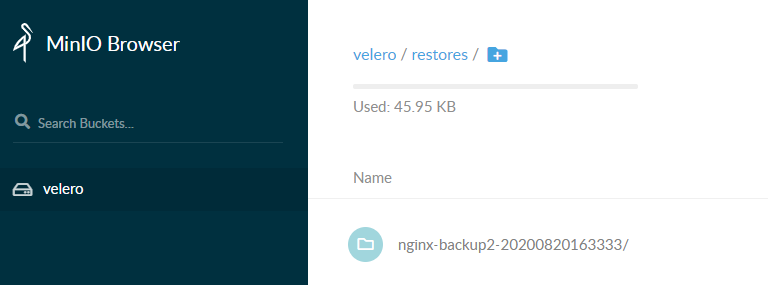
# 使用velero恢复,创建后会在velero桶中创建一个restores目录
velero restore create --from-backup nginx-backup2 --wait

  • 相关命令
1
2
3
4
velero backup get   #备份查看
velero schedule get #查看定时备份
velero restore get #查看可恢复备份
velero delete backup xxxx(备份名) #删除备份
1
2
3
4
5
6
7
8
9
10
11
12
13
14
15
velero create backup NAME
# 剔除namespace
--exclude-namespaces stringArray
# 剔除资源类型
--exclude-resources stringArray
# 包含集群资源类型
--include-cluster-resources optionalBool[=true]
# 包含 namespace
--include-namespaces stringArray
# 对指定标签的资源进行备份
-l, --selector labelSelector
# 对 PV 创建快照
--snapshot-volumes optionalBool[=true]
# 备份数据多久删掉
--ttl duration
  • 定期备份
1
2
3
4
5
6
7
8
# 每日1点进行备份
velero create schedule <SCHEDULE NAME> --schedule="0 1 * * *"
# 每日1点进行备份,备份保留72小时
velero create schedule <SCHEDULE NAME> --schedule="0 1 * * *" --ttl 72h
# 每5小时进行一次备份
velero create schedule <SCHEDULE NAME> --schedule="@every 5h"
# 每日对 指定 namespace 进行一次备份 (如panshi-qtc-dev)
velero create schedule <SCHEDULE NAME> --schedule="@every 24h" --include-namespaces panshi-qtc-dev

利用velero备份到阿里云oss
  • 准备好oss的bucket和相关api密钥
1
2
bucket建议创建为低频存储,省钱
api密钥建议新建个相关低权限的
  • 下载velero插件
1
git clone https://github.com/AliyunContainerService/velero-plugin
  • 修改配置文件
1
修改 install/credentials-velero文件,将新建用户中获得的 `AccessKeyID` 和 `AccessKeySecret`填入
1
2
3
4
5
6
7
# vim install/01-velero.yaml
# OSS 所在可用区
REGION=cn-hangzhou
# OSS Bucket 名称
BUCKET=app-velero
# bucket 名字
prefix=velero
  • 创建ns以及secret
1
2
kubectl create namespace velero
kubectl create secret generic cloud-credentials --namespace velero --from-file cloud=install/credentials-velero
  • 创建资源
1
2
3
4
5
6
# 部署velero
kubectl apply -f install/
# 查看位置
[root@master velero-plugin]# velero get backup-locations
NAME PROVIDER BUCKET/PREFIX ACCESS MODE
default alibabacloud devops-k8s-backup/velero ReadWrite
  • 备份及恢复
1
2
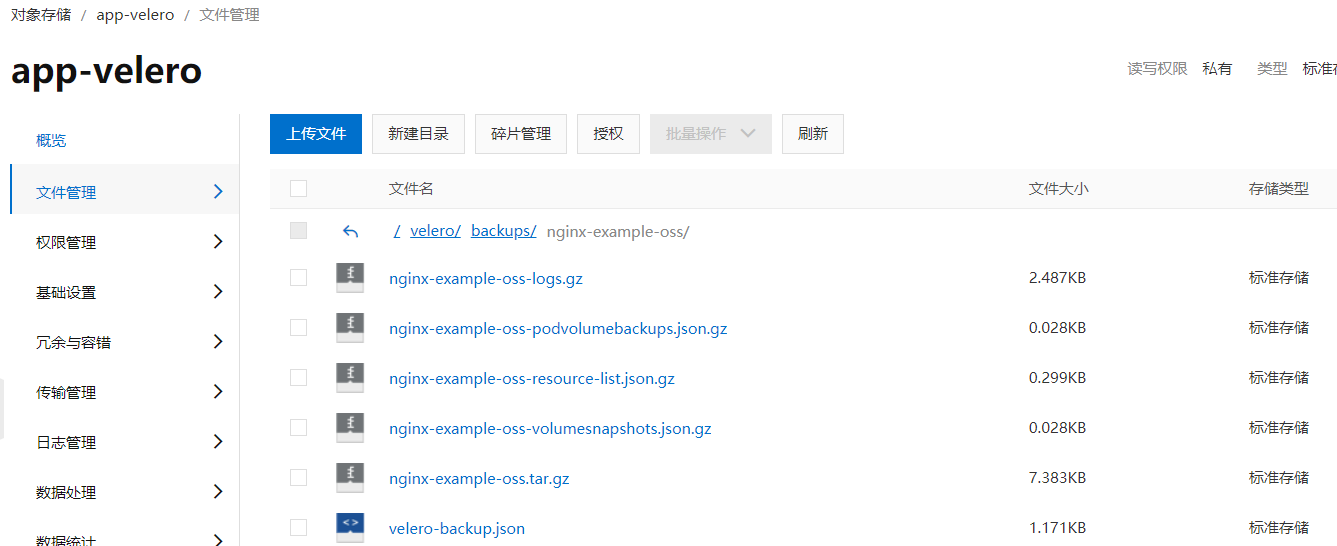
velero backup create nginx-example-oss --include-namespaces nginx-example
velero restore create --from-backup nginx-example-oss

  • 注意事项
1
2
3
4
1、在velero备份的时候,备份过程中创建的对象是不会被备份的。
2、velero restore恢复不会覆盖`已有的资源`,只恢复当前集群中`不存在的资源`。已有的资源不会回滚到之前的版本,如需要回滚,需在restore之前提前删除现有的资源。
3、后期可以做velero作为一个crontjob来运行,定期备份数据。
4、在高版本1.16.x中,报错`error: unable to recognize "filebeat.yml": no matches for kind "DaemonSet" in version "extensions/v1beta1"` ,将yml配置文件内的api接口修改为 apps/v1 ,导致原因为之间使用的kubernetes 版本是1.14.x版本,1.16.x 版本放弃部分API支持!
-------------本文结束感谢您的阅读-------------
原创技术分享,感谢您的支持。